
Brioche, a light, sweet bread hailing from France, has found its way into the hearts and homes of bread lovers worldwide. Known for its golden crust and fluffy interior, it’s a versatile bread that can be enjoyed with a simple pat of butter or as an accompaniment to a lavish gourmet meal. What’s most appealing about brioche, however, is that it’s relatively easy to make at home. With a few key components and some careful technique, you too can create a bakery-quality brioche loaf right in your own kitchen.
The Essential Ingredients
When it comes to baking brioche, there are several key ingredients you will need to ensure the success of your bread. Let’s delve into the integral elements that contribute to the bread’s taste, texture, and appearance.
In parallel : How to Achieve a Delicate Rolled Pavlova with Seasonal Berries and Chantilly Cream?
Flour: The foundation of your brioche dough is the flour. You will need a high-protein bread flour to give your brioche the necessary structure and chewiness.
Yeast: Yeast is the leavening agent that helps your bread rise. Active dry yeast is the most common type of yeast used in home baking and will work perfectly in this recipe.
Also read : What’s the Secret to a Perfectly Crisp Classic Caesar Salad with Homemade Croutons?
Milk: A vital component of your brioche dough is milk. The fat content in the milk contributes to the bread’s rich flavor and tender crumb.
Butter: Butter is a critical ingredient in brioche. It gives the dough a rich, buttery flavor that’s characteristic of this type of bread.
Sugar and Salt: Sugar and salt are essential for balancing the flavors in your dough. The sugar will provide a hint of sweetness, while the salt will enhance the other ingredients’ flavors.
Step-by-step Brioche Baking Process
Making a gourmet brioche involves a series of steps to ensure a golden crust and a fluffy interior. Here’s how you’ll go about it.
Start by warming your milk to the perfect temperature. It should be warm to the touch – about 110°F (43°C) – but not hot. Any higher and you risk killing the yeast, which is integral to the rising process.
Next, you’ll gently mix the yeast into the warm milk and let it sit for a few minutes, until it becomes frothy. This is a sign that the yeast is active and ready to go to work.
Once the yeast is activated, you’ll add the rest of your ingredients – including the flour, sugar, salt, and butter – to the bowl. Using a sturdy spoon or an electric mixer with dough hook attachments, you’ll combine these ingredients until a rough dough forms.
Now comes the fun (and slightly challenging) part, kneading the dough. You’ll do this by hand for about 10 to 15 minutes, or with a mixer for about 5 to 7 minutes. The goal is to develop the gluten in the dough, which will give your brioche its characteristic chewy texture.
The Importance of Proofing and Shaping the Dough
After the kneading process, it’s time to let the dough rise, or proof. During this time, the yeast ferments the dough, causing it to expand and double in size. This process is vital for developing the dough’s flavor and texture.
To proof your dough, place it in a large, greased bowl, cover it with a damp towel, and leave it in a warm, draft-free place. It should take about one to two hours for the dough to rise fully.
Once the dough has risen, it’s time to shape your brioche. For traditional brioche buns, you’ll divide the dough into small pieces, shape them into balls, and place them in a greased baking pan.
Perfect Baking Temperature and Time
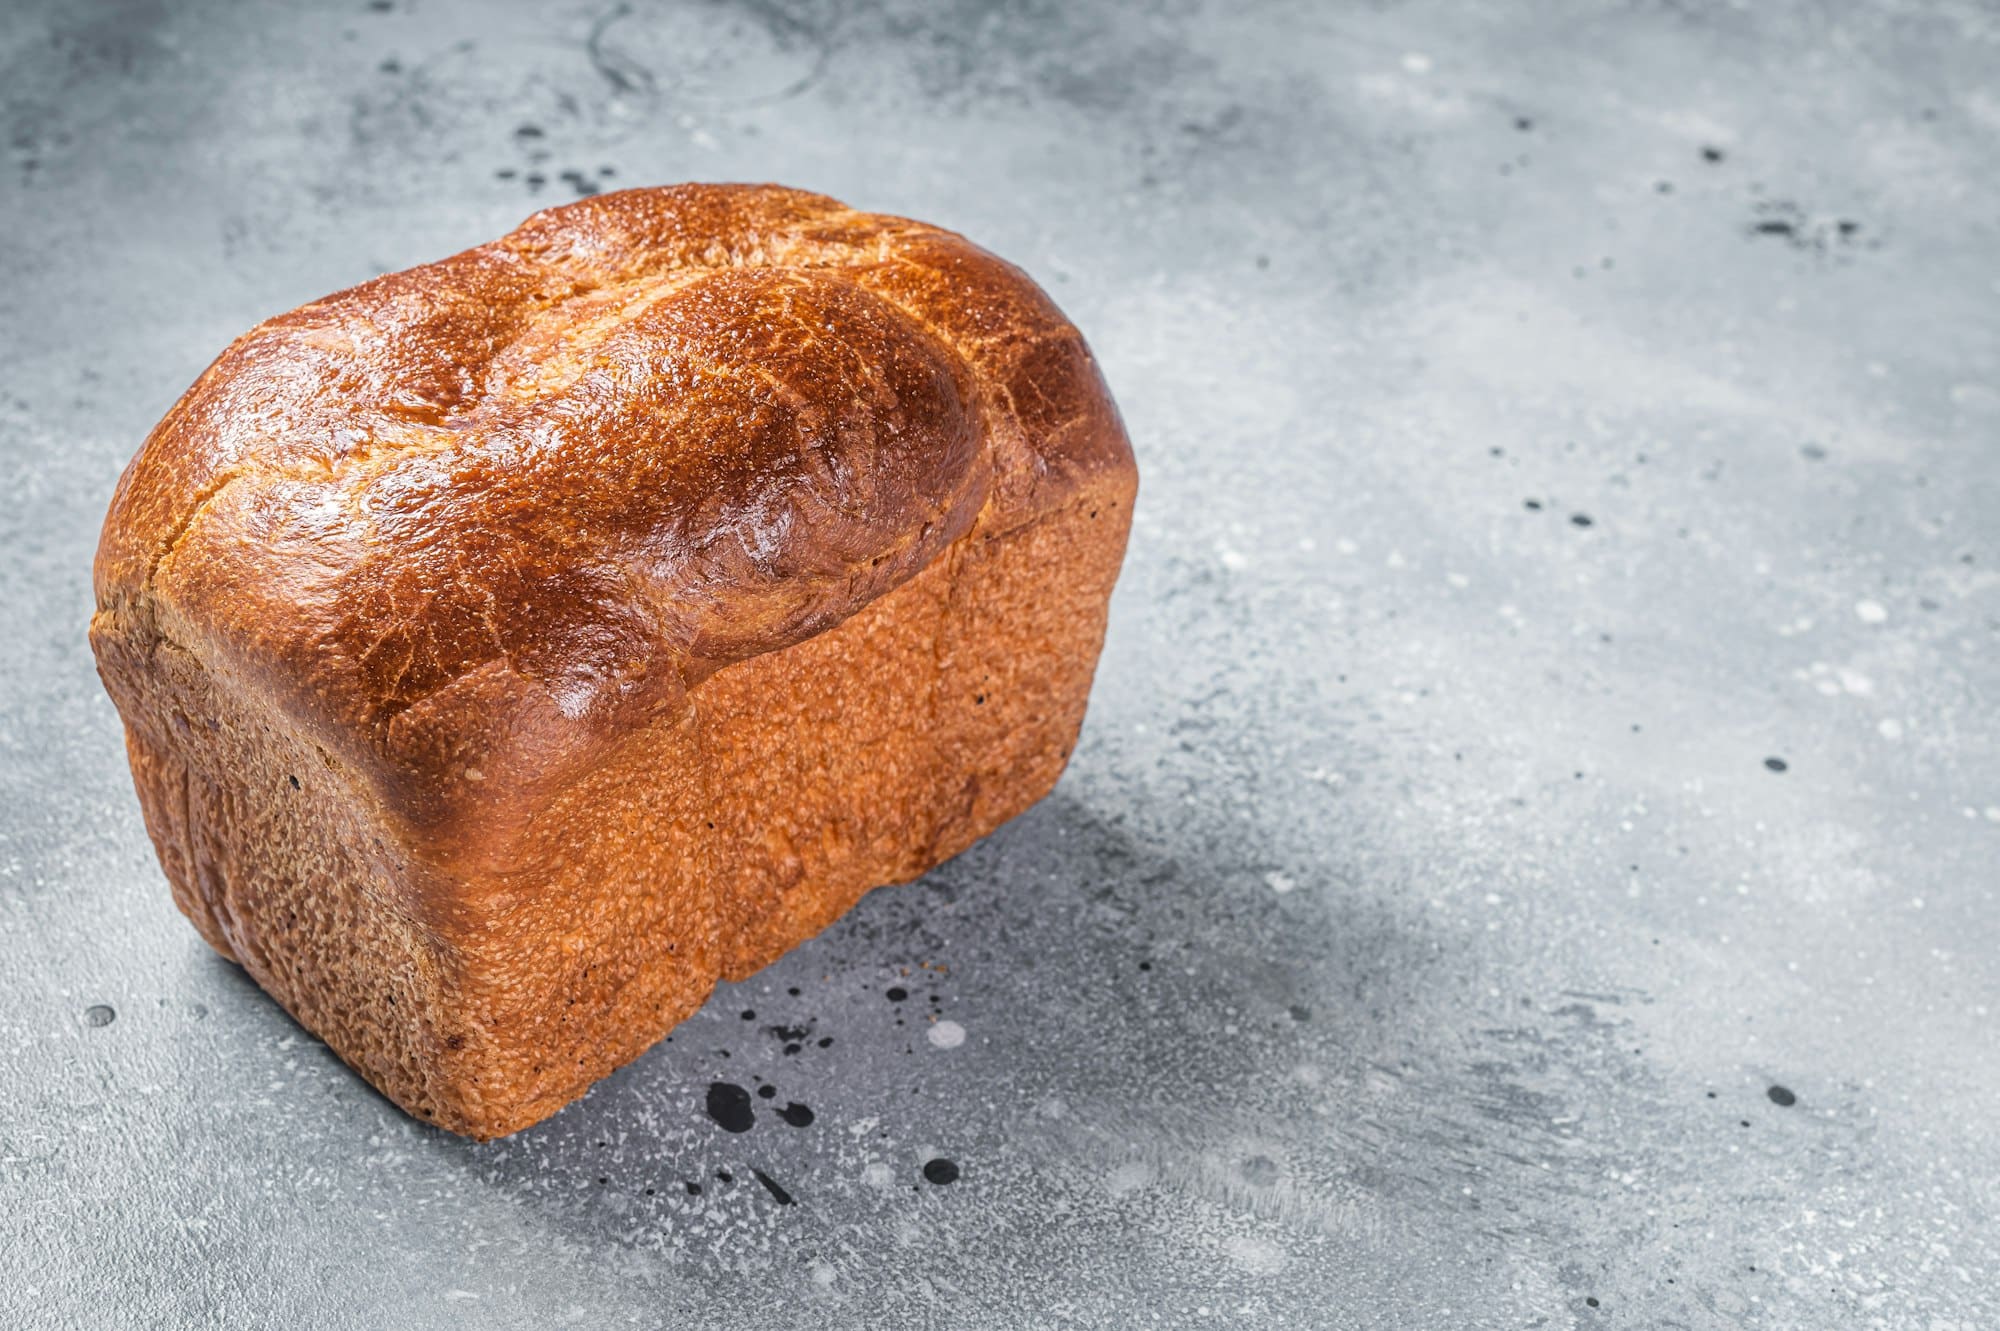
Preheat your oven to a temperature of 375°F (190°C) – the ideal temperature for baking brioche. Baking at this temperature will ensure that your brioche comes out with a beautifully golden crust and a fluffy, light interior.
The baking time for brioche varies depending on the size of the buns or loaves. Small brioche buns will require a shorter baking time, about 15 to 20 minutes, while larger loaves will need more time, around 30 to 35 minutes.
To determine if your brioche is done, you’ll want to look for a deep golden-brown crust. You can also use a thermometer to check the internal temperature of your brioche, which should read about 190°F (88°C) when fully baked.
As with any baked good, you must let your brioche cool before slicing into it. This waiting period allows the bread to finish baking from residual heat and makes it easier to slice.
With this step-by-step guide, you’re well on your way to baking your gourmet brioche with a golden crust and fluffy interior. It might seem like a bit of a challenge at first, but with practice and patience, you’ll be a brioche-baking pro in no time. Happy baking!
The Art of Brioche Shaping and the Final Touches
Once your dough has doubled in size, it is time to shape your brioche bread. This step is crucial, as it will determine the final look of your bread. If you’re making small brioche buns, divide the dough evenly into small pieces. Each piece should be shaped into a ball and then placed onto a baking tray lined with parchment paper.
If you’re making a larger loaf, consider the traditional "tête" shape, where a larger ball of dough is topped with a smaller one. This lets you enjoy a beautiful double-decker style of brioche. Remember, your dough will rise a bit more once it has been shaped, so don’t be alarmed if your brioche dough looks a bit small at first.
Regardless of what shape you choose, ensure to cover your shaped dough with plastic wrap and allow it to rise for another hour or until it has increased in size. This second rise is also known as "proofing." Proofing is indeed vital to achieving a light and fluffy brioche interior.
However, before you put your shaped dough into the oven, there’s one more step: applying an egg wash. An egg wash, made from an egg beaten with a tablespoon of milk, gives your brioche that shiny, golden-brown crust that is characteristic of a well-baked brioche. Brush it generously over your brioche dough before putting it in the oven.
In Conclusion: Your Perfect Brioche Awaits
After baking your brioche to a beautiful golden brown, remove it from the oven and allow it to cool. Resist the urge to slice into it immediately; allow it to cool to room temperature to ensure it finishes baking from residual heat and its structure sets properly.
Once cooled, there’s nothing stopping you from enjoying your homemade brioche bread. Whether you slice it and slather it with butter or jam, use it for luxurious French toast, or make it the star of your burger buns, your brioche is sure to impress.
Brioche baking may seem like a complex task, but with a little patience and the right techniques, you can master it. Remember, baking is as much an art as it is a science, and practice makes perfect. So, don’t be disheartened if your first few attempts don’t come out as expected.
Keep experimenting with your recipe and technique, and soon enough, you’ll be crafting brioche loaves that could rival those in the finest French bakeries.
Baking brioche is about more than just turning out a delicious product (although that’s certainly a significant part!). It’s about the joy of creating something with your own hands, the calm of the process, and the satisfaction of seeing others enjoy your creations. Keep these feelings in mind, and remember that each loaf, whether perfect or imperfect, is a testament to your dedication and love for the craft.
So, gather your ingredients, roll up your sleeves, and get ready to transform your kitchen into a French bakery. Happy baking!